Inspired by the scale detail of butterfly wings, my project at Digital Naturalism centered on gathering microscope images and videos of butterfly wings, and using them for a site-specific projection installation.
Background
Butterfly wings produce their detailed coloration and patterning through light refraction off of microscopic scales that cover the surface of wings. Scales also cover the heads, as well as parts of the thorax and abdomen in insect species, including butterflies. Scales also aid in flight and help waterproof the insect, and their delicate nature is a reason to avoid touching live butterfly wings (all of my specimens were deceased and gathered throughout the trails, roads, and buildings of Gamboa)! Through various optical properties of these microscopic scales, intricate and detailed patterns of colors are created across butterfly and moth species.
Panama is home to a great diversity of the world’s butterflies and moths, many of whom exhibit dramatic wing coloration. Panama is especially known for its diversity of neotropical Heliconius butterflies, which express an incredible array of wing colors and patterns. Panama is also known for its many mimics, as well, or species who express the same coloration for various hypothesized reasons, including imitating poisonous species in order to deter predators in a process called Batesian mimicry. Exploring the genetic pathways for scale expression, wing coloration, and patterning is an area of current research and interest to better explain the relationships between the incredibly rich array of butterflies in areas such as Panama.
Overall, scales provide not only biologically useful functionality through meaningful coloration and mimicry, assisting in flight, and waterproofing, but also draw the eye with incredible aesthetic beauty. To expose an audience to the aesthetic and biological wonder I find in observing butterfly wing scale detail, I gathered an array of microscope images and video of butterfly wing scale detail, and displayed my media in a site-specific projection installation outside of Dinalab on a public exhibition evening.
Specimens
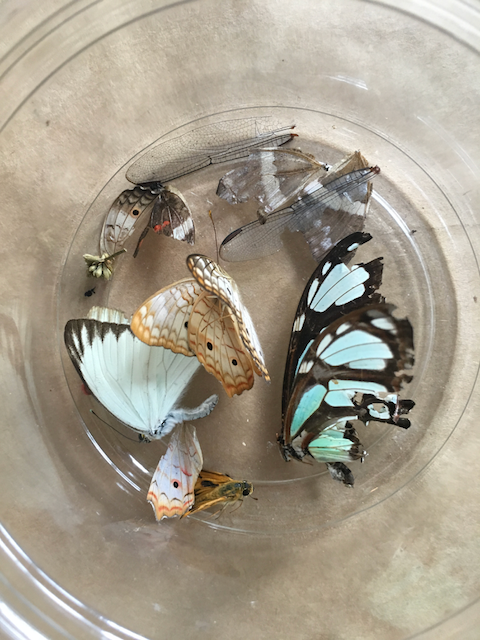
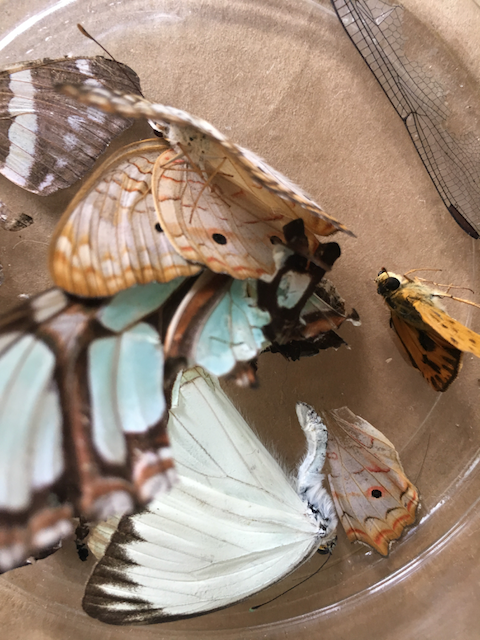
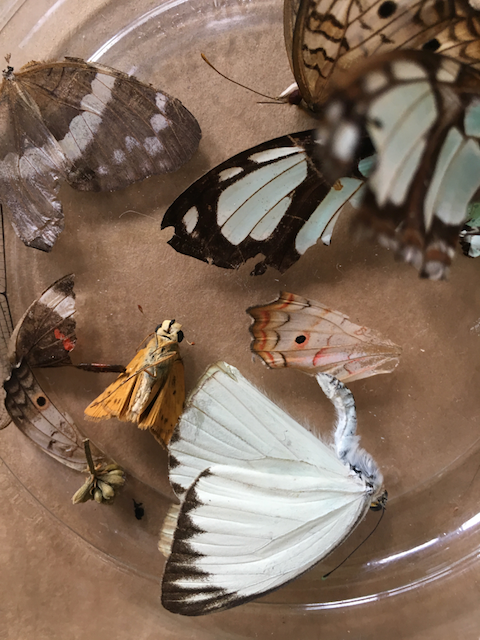
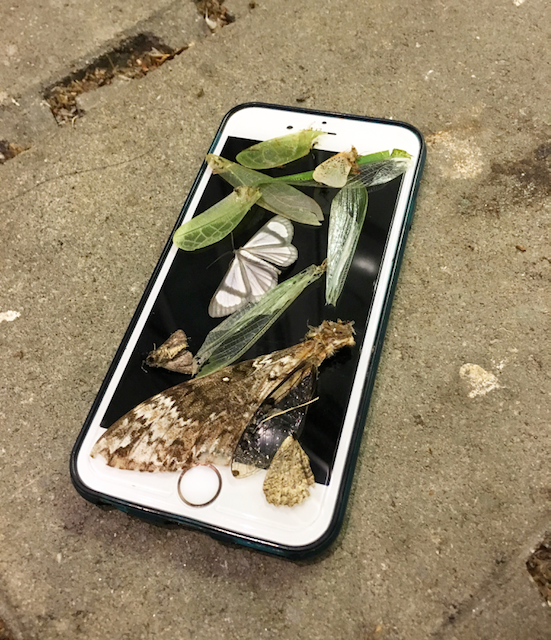
Throughout my time at the conference, I gathered deceased butterfly specimens throughout the Gamboa area. I found deceased butterfly wings, or fragments, throughout trails, roads, and buildings of Gamboa. Importantly, all specimens I gathered were deceased when found. Absolutely no live butterfly or moth specimens were handled during my time at Digital Naturalism Conference. Throughout my time at the conference, I collected wing fragments from a diversity of species. (As of October 1st, 2019: Many of these I am still working on correctly IDing–please reach out with correct scientific names for those shown!)
Microscope Images and Video
I used a Plugable USB microscope (thanks Lee Wilkins, Dinasaur extraordinaire!!) and Plugable Digital Viewer free software (https://plugable.com/drivers/microscope/) to gather both video and still images of microscopic detail on collected specimens. (As a special shout-out to this microscope, it is relatively affordable at about a $20 price point online! Get your own, and explore microscope imagery in your own area!!).
Here is a selection of my favorite still images:
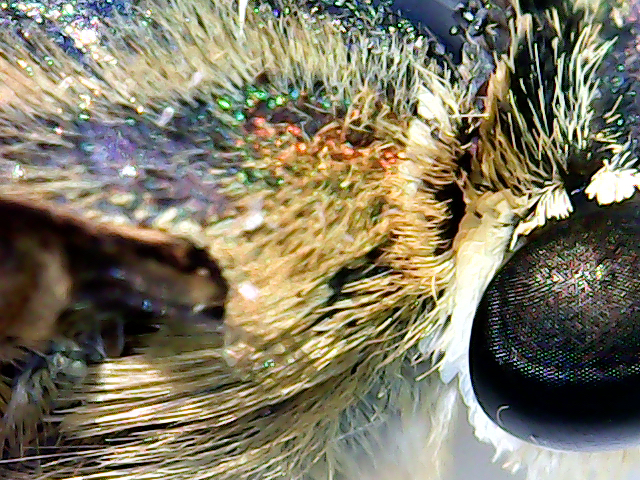
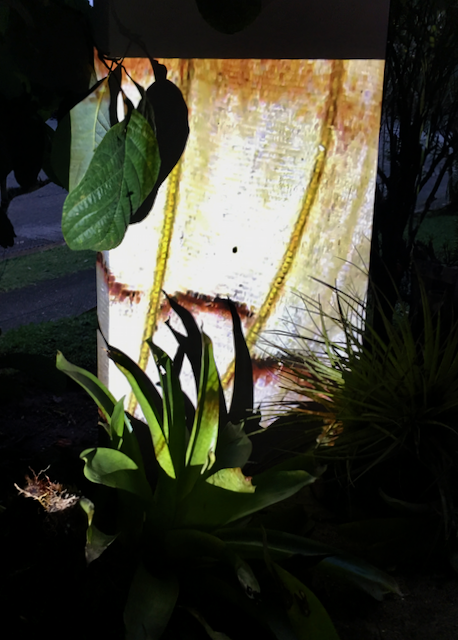
Head region, including right eye 
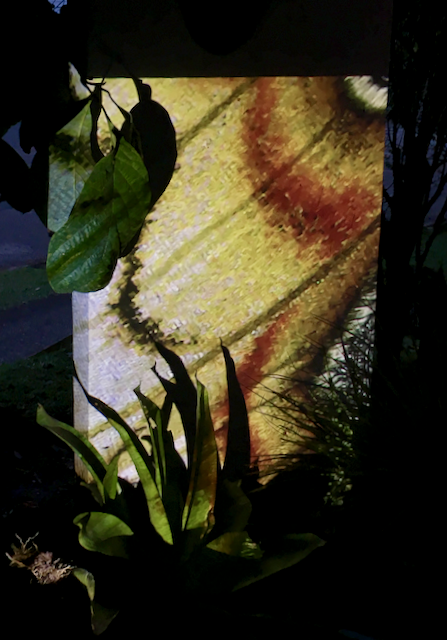
Thorax (middle) and part of wing (upper half) 
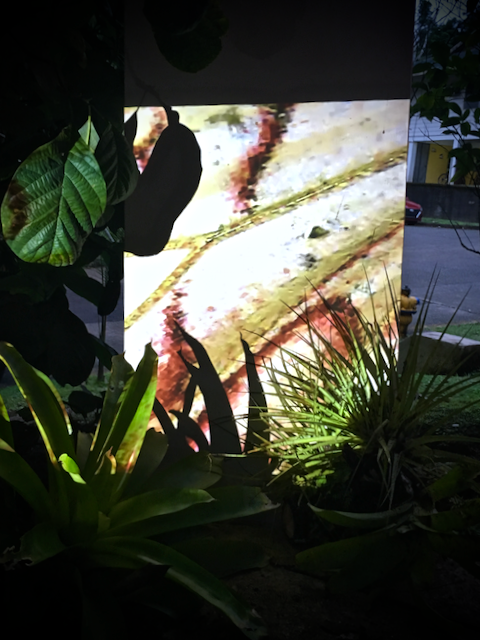
Wing 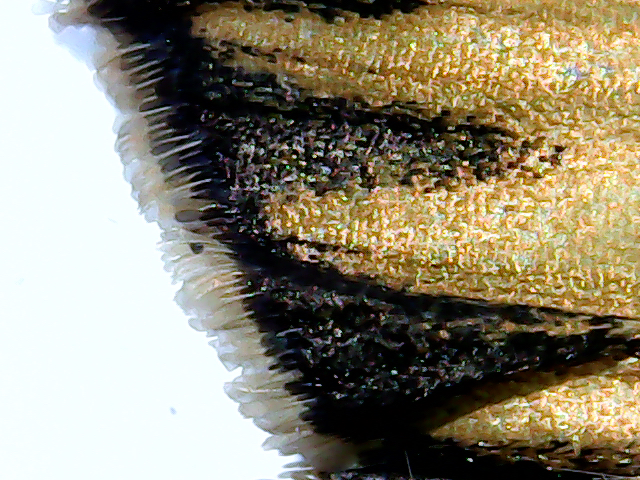
Close up of wing detail
Installation
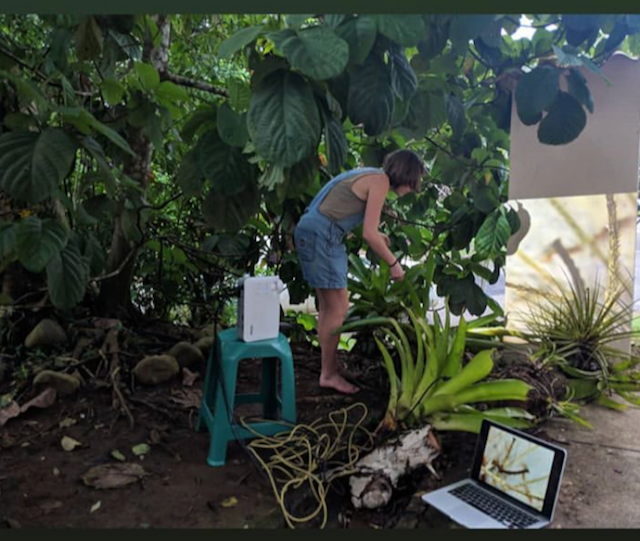
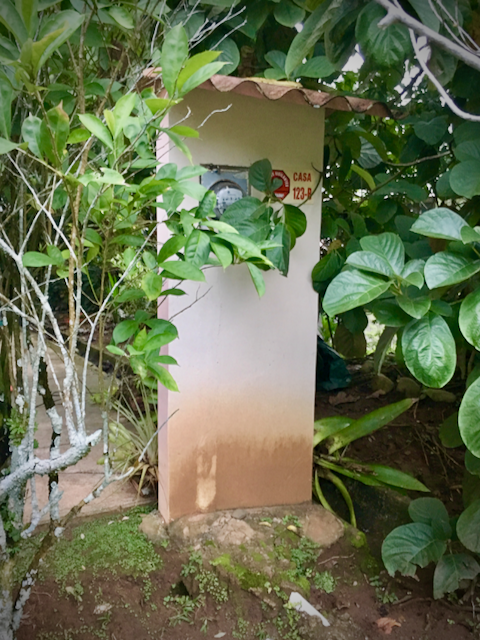
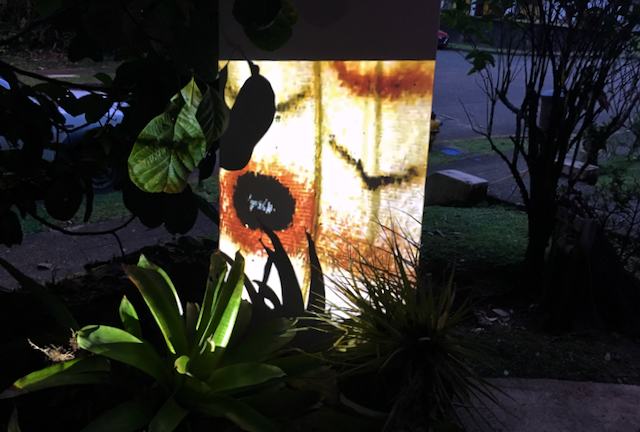
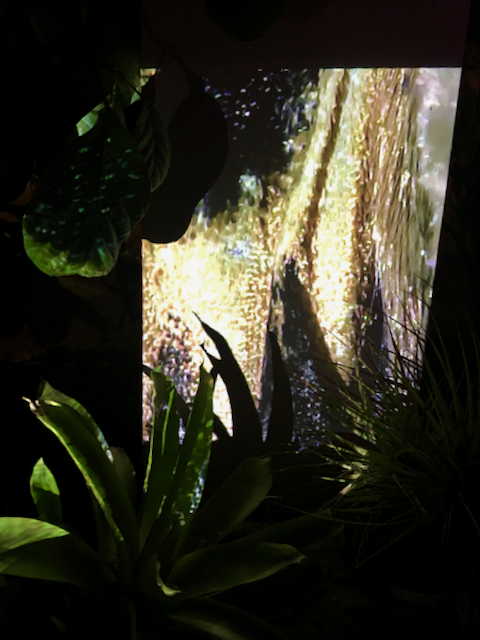
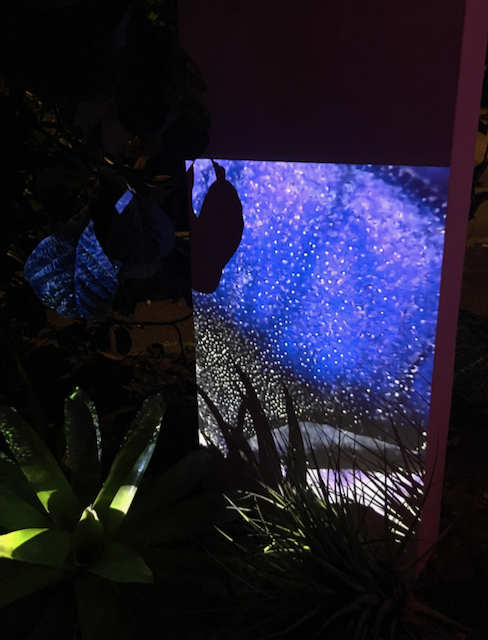
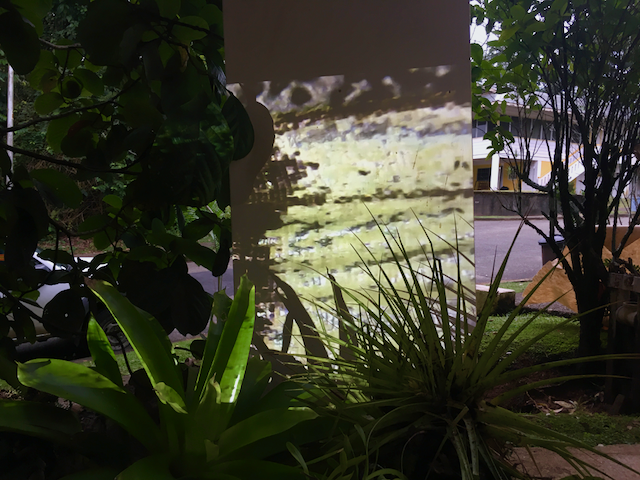
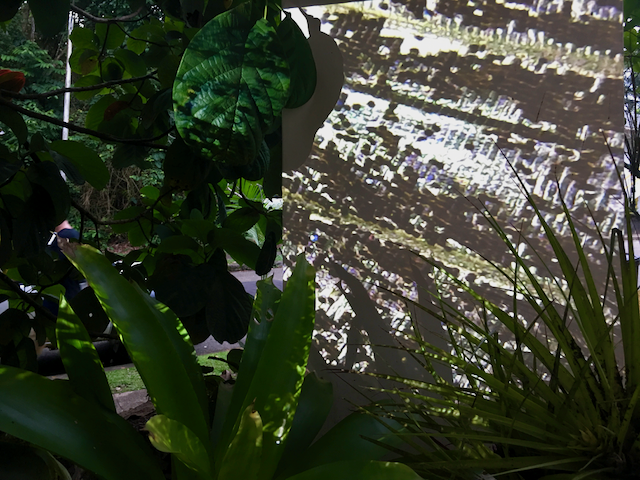
To display the microscope video I collected of wings, I set up a site-specific projection installation at one of our evening Digital Naturalism public installations in and around our Gamboa Dinalab. Here, I projected my microscope videos of butterfly wing detail onto a utilities box (shown below, from front and side). These utilities structures are common throughout Panama, and appear to me to be open canvases for a variety of art! This type of public canvas is especially conducive to using projection, which does not harm or modify its canvas.
I am drawn to projection art as a medium that seems to me to be both a light and a fluid. In working with projection, I seek to modify projection canvases to insert mobility, depth, and layers into a projection-based art installation. I’m interested in projection work that gives videos motion and disrupts a 2D canvas. I find that projection, through it’s light, motion, and ability to display on various surfaces, can be a uniquely dynamic and immersive medium for art installations. In using projection for my wing video installation, I seek to draw an audience into the colors and scale detail with a projection environment that blends technology, biology, and fascination.
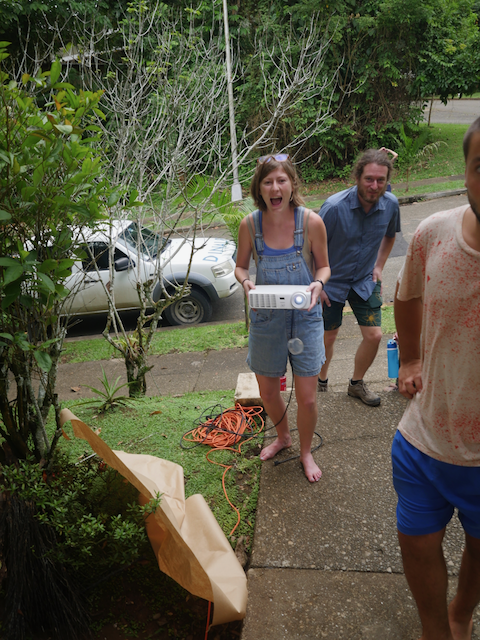
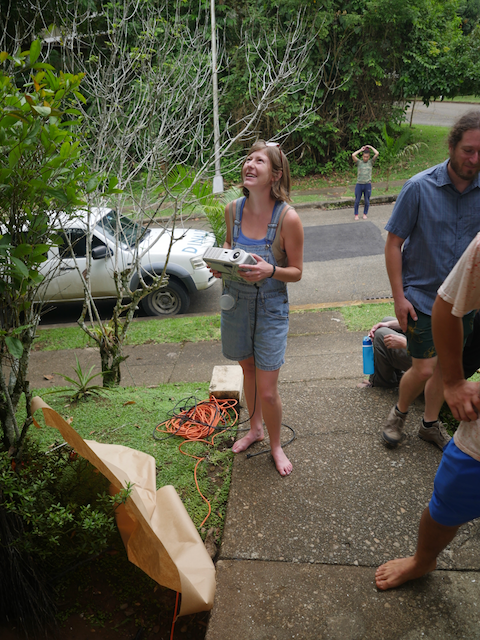
I incorporated natural elements into the installation through arranging bromeliads saved by Dinasaur Rabia from a local tree-trimming operation and an adjacent tree in the projection surface. The process shots above and below show the location of my local Gamboa installation!
Still photos of installation
Feedback
I received feedback on my installation from Panamanian artist Kevin Lim. For more feedback or project inquiries, please leave a comment below!
Future Work
Importantly, the media I collected of microscopic wing detail is now portable. With these images and video, I can create more site-specific installation pieces in different environments. I hope to explore a more static installation piece, in a gallery setting or outdoors, where these microscope videos are projected onto a mobile screen shaped like a wing, that can flutter in the wind.
Additionally, as always, I seek opportunities to continue to merge science and art in creative ways to showcase and promote the fascination and inquiry inherit to both disciplines.
For inquiries or collaborations, please comment on my bio page on the Digital Naturalism website, or reach out online through another medium.
Utter excitement with the flexibility of site-specific projection, and all of Dinacon:
Yay Dinacon!
Further Reading and Exploration
“Butterfly scale optics” Google Images search 🙂
Butterfly Wing Optics STEMvisions blog post (https://ssec.si.edu/stemvisions-blog/butterfly-wing-optics)
Deshmukh, R. , Baral, S. , Gandhimathi, A. , Kuwalekar, M. and Kunte, K. (2018), Mimicry in butterflies: co‐option and a bag of magnificent developmental genetic tricks. WIREs Dev Biol, 7: e291. doi:10.1002/wdev.291
Florida State University and Olympus’s collaboration site Butterfly Wing Scale Digital Image Gallery (https://micro.magnet.fsu.edu/optics/olympusmicd/galleries/butterfly/index.html)
Kolle, M., Salgard-cunha, P., Scherer, M. R. J., Huang, F., Vukusic, P., Mahajan, S., . . . Steiner, U. (2010). Mimicking the colourful wing scale structure of the Papilio blumei butterfly. Nature Nanotechnology, 5(7), 511-5. doi:10.1038/nnano.2010.101
Srinivasarao, M. (1999). Nano-Optics in the Biological World: Beetles, Butterflies, Birds, and Moths. Chem. Rev., 99(7), 1935-1962. doi: 10.1021/cr970080y.
Acknowledgements
Generous thanks to the Boulder Arts & Culture Professional Development Grant program for funding my 2019 Digital Naturalism Conference engagement.
Special appreciation goes to Betty Sargeant and Madeline Schwartzman, whose initial microscope exploration of insect wings and feathers drew me in to further exploring microscope wing detail! Thank you for sharing your incredible work, expertise, curiosity, and inspiration during my first days acclimatizing to Dinacon, and throughout our time together.
Thank you to Lee Wilkins for letting me use your rockin’ microscope!
Thank you to Tiare Riabeaux for mega wing collection during our few days of overlap (on-the-phone photo).
Thank you so much to Dina-captain Andrew Quitmeyer for tireless enthusiasm, and bringing us all together with your brilliant conference and curiosity!
And to all of you across the huge Digital Naturalism community, I’m so happy to have all of you new, inspiring friends and peers <3
